

Difficulty Level: Beginners
Time Required: 2-5 minutes
Coding Required: No
WordPress installation has never been so easy before. By following this WordPress installation guide you will be able to install WordPress within few clicks.
- To install WordPress you need to login to your cPanel account. Learn how to login to cPanel.

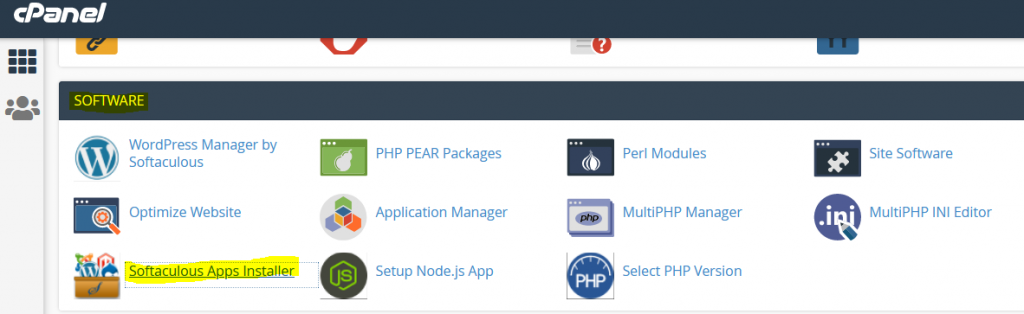
- Go to “Software” Section and click on “Softaculous Apps Installer”
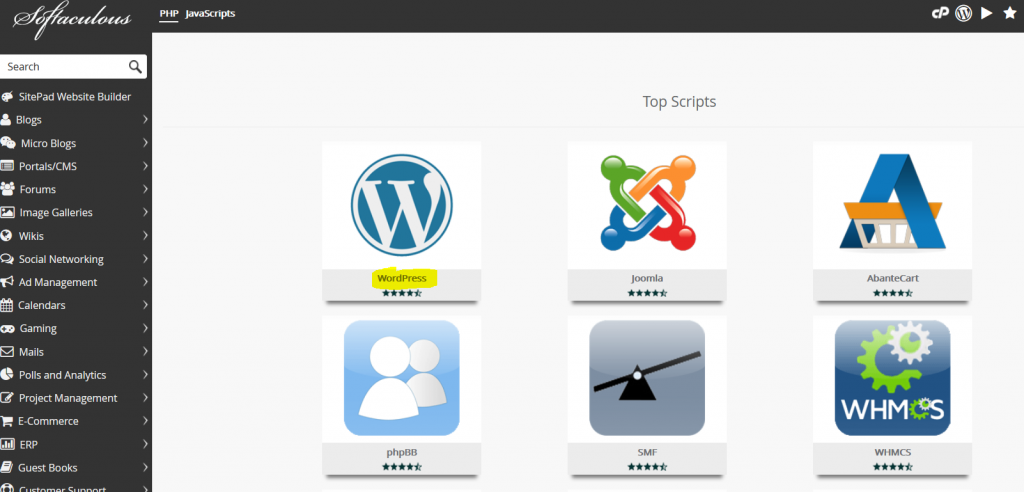
- After click on “Softaculous Apps Installer”, you will move to next page and here you will find “WordPress”, click on this.
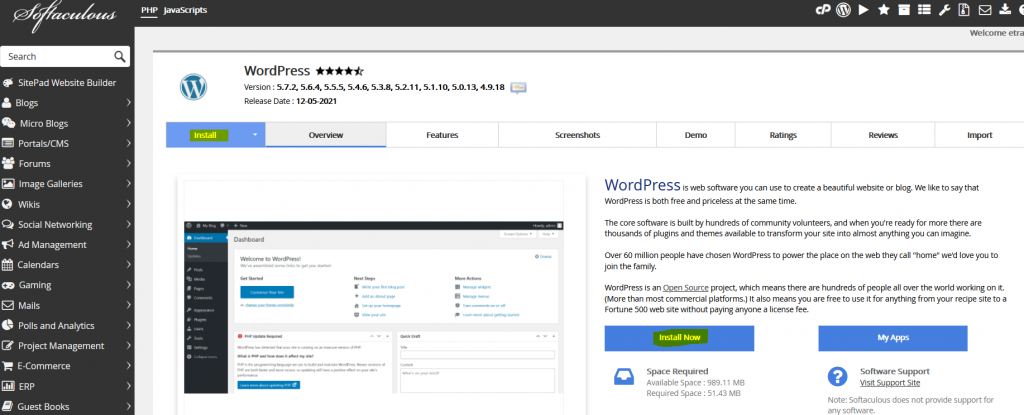
- Click on “WordPress” then you will move to next page, then click on “Install” or “Install Now”.
- After Click on “Install Now”, you will move to next page, and here follow the below steps:
A- Software Setup
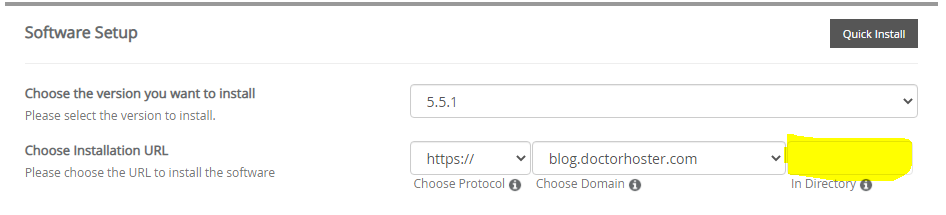
Choose the version you want to install:
It is recommended to choose the latest version available at the time of installation
Choose installation URL:
“Choose Protocol”: It is recommended to select “https://”.
“Choose Domain”: In case you have multiple domains in your CPanel account you can switch your domain from this drop-down.
“In Directory”: If you want to install WordPress to root domain for e.g. “https://yourdomain.com” keep “In Directory” empty.
B- Site Settings
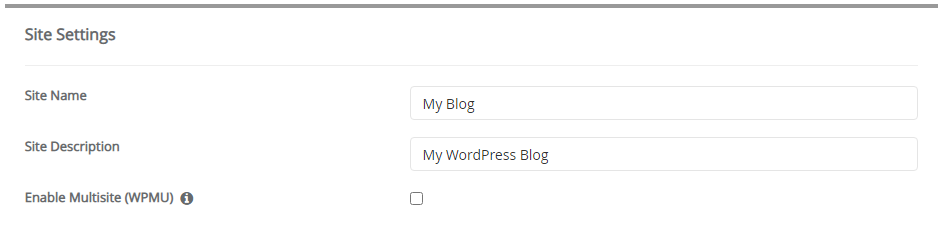
Site Name :
In this input field, you need to enter the name/title fo your website (Can be changed afterwards).
Site Description:
You need to enter your website description in this input field (Can be changed afterward).
C- Admin Account
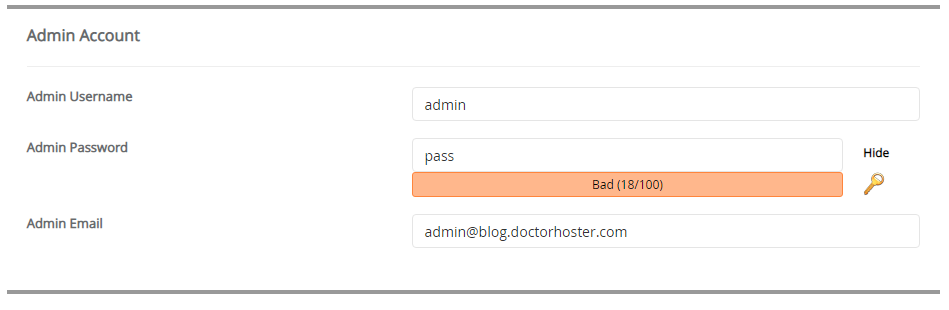
In these fields, you need to enter your admin panel login details which you want to set for future authentication.
D- Choose Language

You can select your prefered language in this feild.
E- Select Plugins
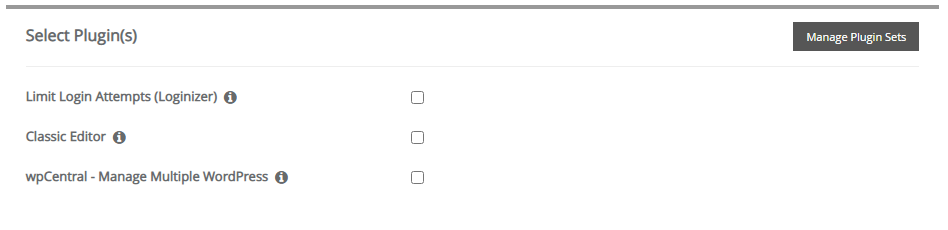
This section is optional you can select any plugin if needed
F- Select Theme
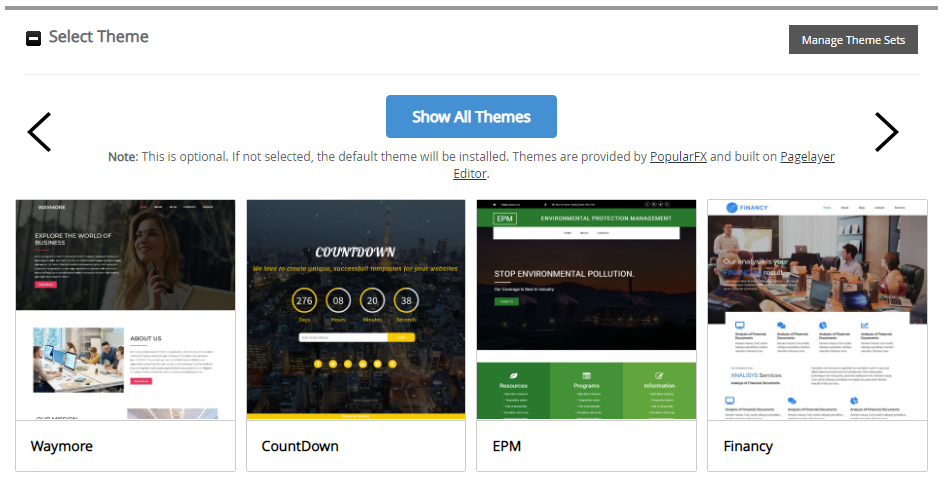
In this section, you can select one them that you want to start with (Can be changed afterward).
G- Finalize Installation

That’s it now you need to click on the “Install” button. Additionally, you can add an email address in the below input to forward the installation details.


