

In order to use PKNIC Prepaid card, you need to buy this card from PKNIC official Partner DoctorHoster website. You may follow the below steps:
1. Visit this link: https://doctorhoster.com/pknic-card
2. Click on the “Order Now Button”.

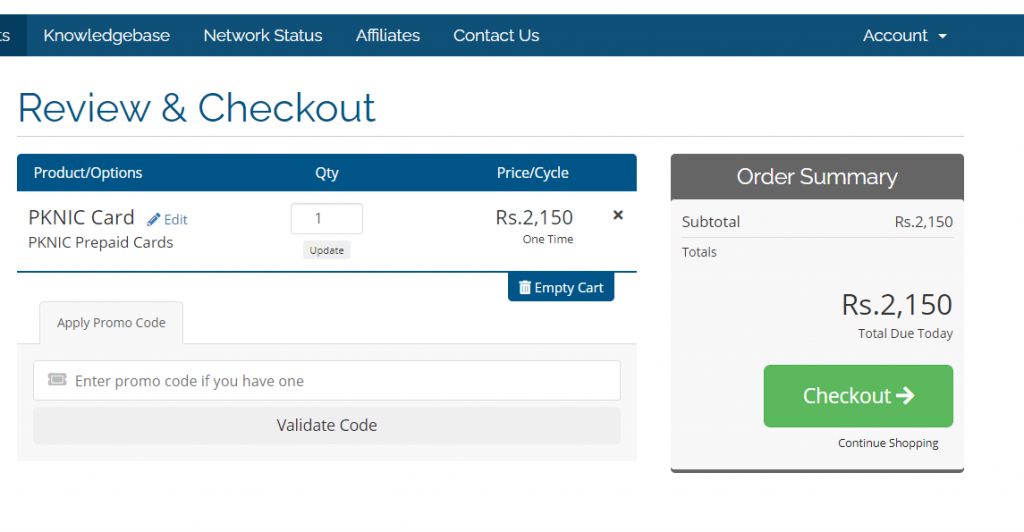
3. Click on the “Check out”
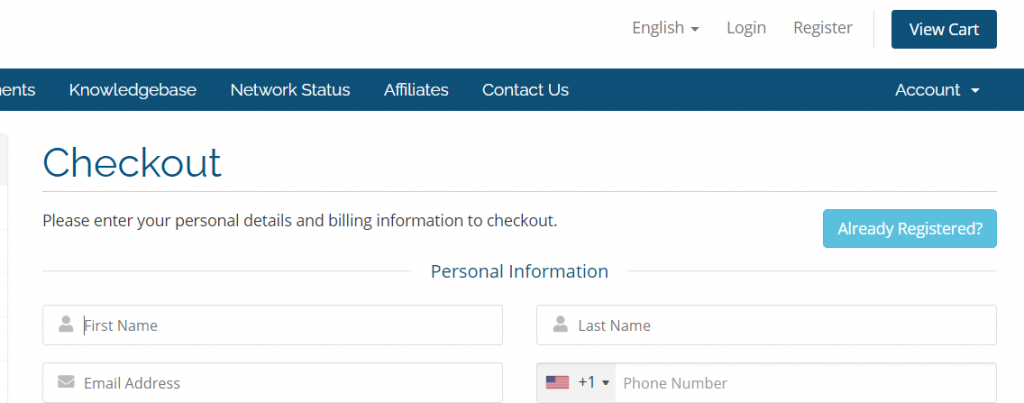
4. If you have already account with DoctorHoster then click on “Login”. If You do not have account then fill up this form and complete the sign up procedure.
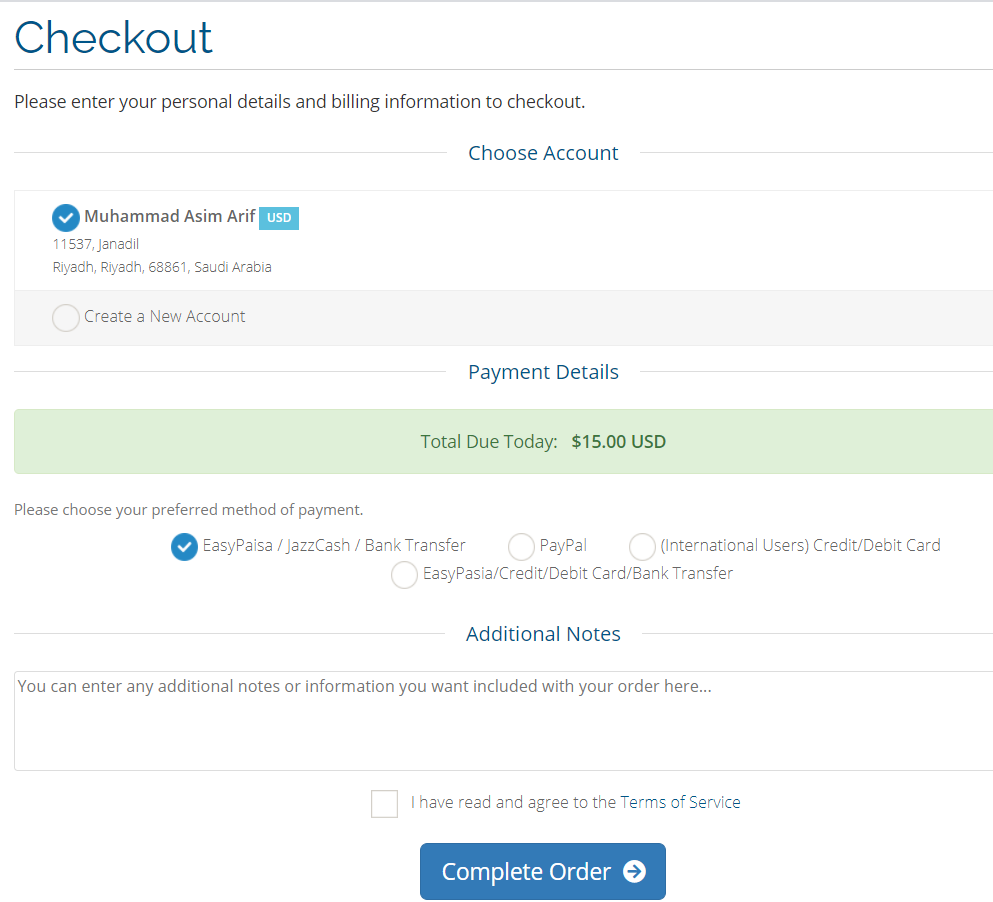
5. Select your payment method and click on “complete order”.
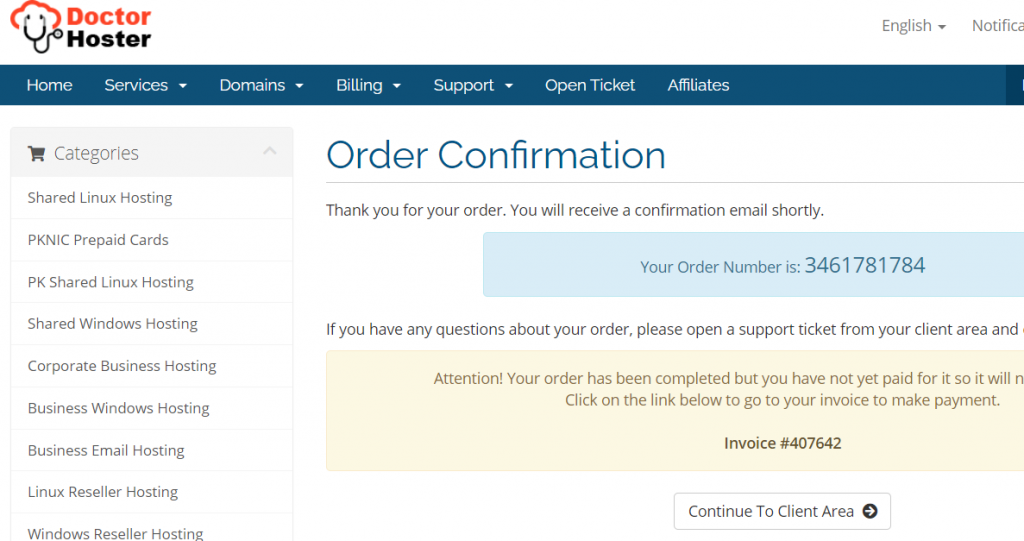
6. Then, you will get Order confirmation on your screen and your invoice generated as well an invoice copy will also send to your registered email id:
7. After Make the payment to “DoctorHoster“, You will get PKNIC Card information are as follow:
PKNIC Card:
Card Number: xxxxxxxxxx
Serial Number: xxxxxx
Pin Code: 0090
8. After Receive the card information, You have to go PKNIC website, you may follow this link: https://pknic.net.pk/
9. Login your PKNIC account, if you don’t have login then sign up your account.
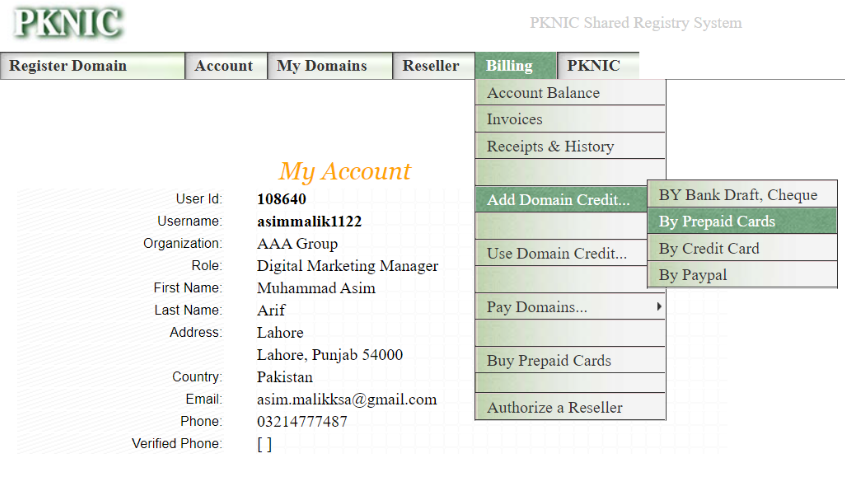
10. After Login, click on “billing” then click on “Add Domain Credit” then Click on “By Prepaid Cards”.
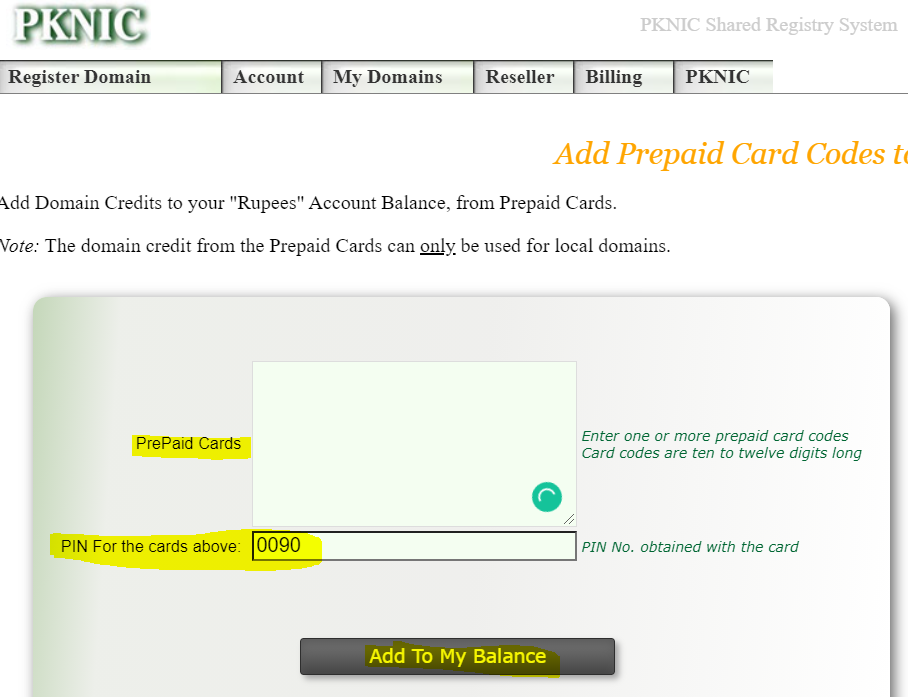
11. Here, enter your “Card Number” in the box of “Prepaid Cards” and enter “Pin for the cards above” then click on “Add to my balance”.
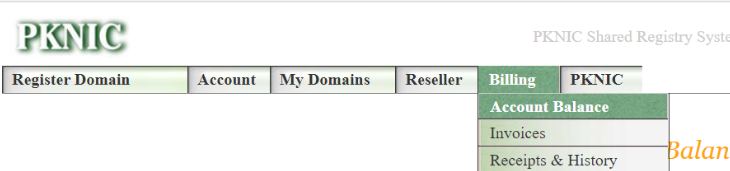
12. After this, go to “Billing” then click on “Account Balance”
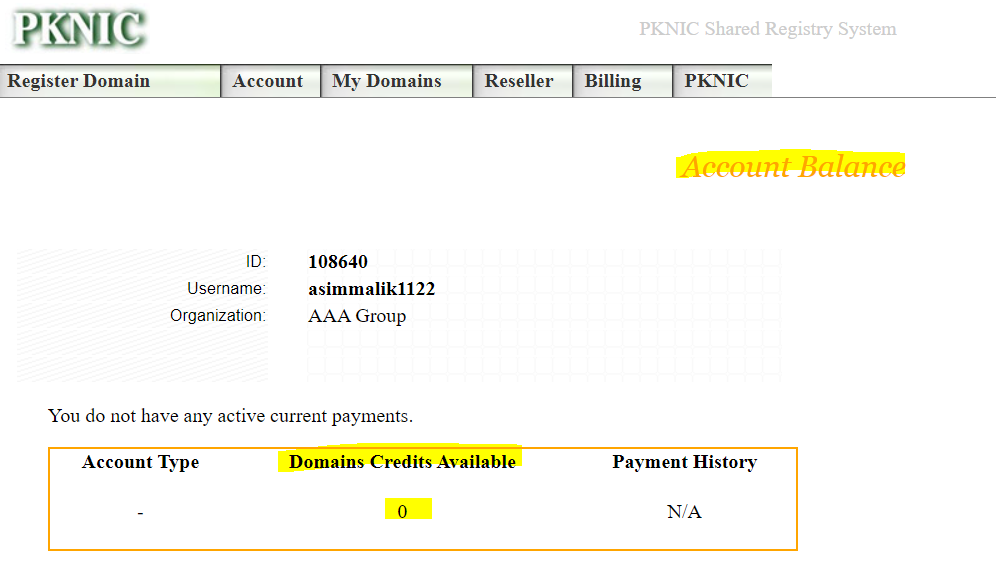
13. Then, your prepaid card balance will show here, below screenshot FYI, if you add one card then you will see “1” domain credit available, if you add 2 cards, then you will see “2” domain credits will be available:
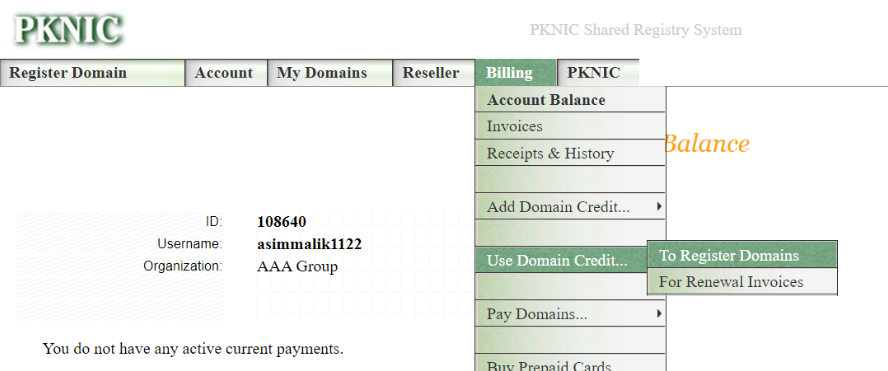
14. Then again, click on “Billing” then click on “Use domain credit” then click on “To Register Domain”
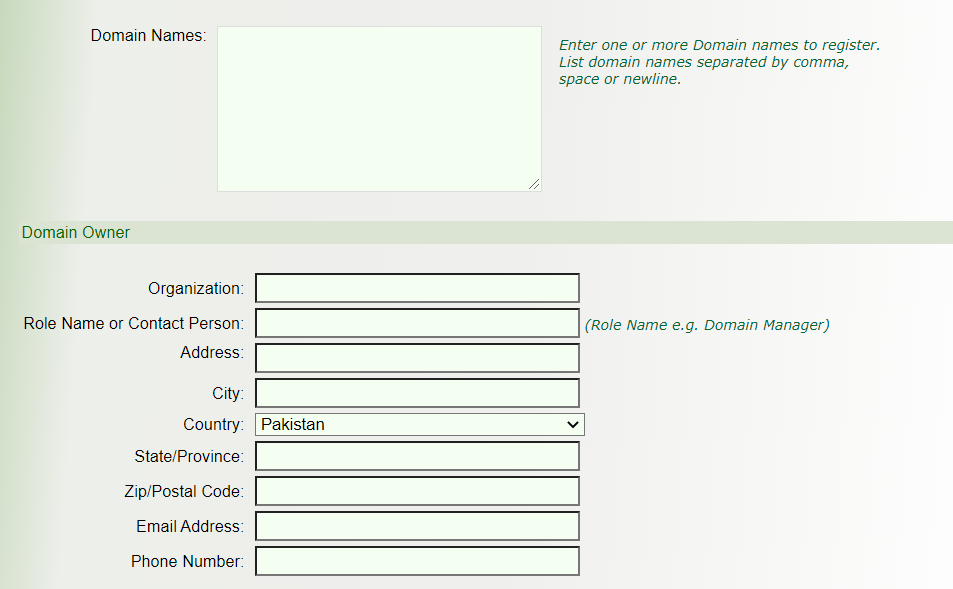
15. After click on “To Register domains”, you will go to the domain registration page (screenshot below FYI), here follow these steps:
A – In the “Domain name” section, enter your required domain name for example” abc.com.pk” or “abc.pk”. whatever domain name you need, just enter it here.
B – Enter domain owner information are as below:
i – Organization : enter your company name.
ii – Role Name or Contact Person : enter your name.
iii – Address: Enter your office address or home address
iv – City: Enter your city Name.
v – Country: Select your country.
vi – Zip/postal code: enter the postal code here.
vii – Email address: enter your email address.
viii – Phone Number: Enter your mobile or office number here.
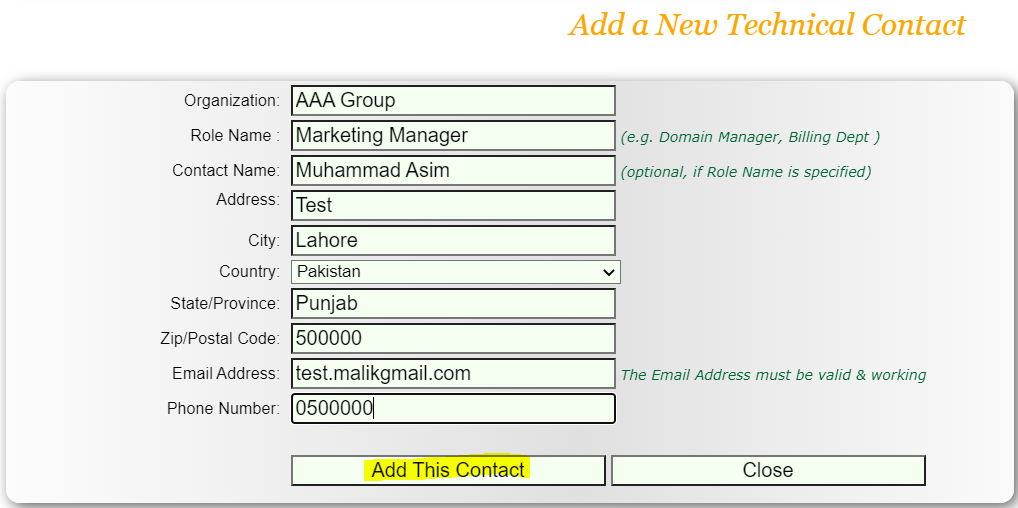
C – Now, move to next section of “Technical Contact”, Click on “Add”

After Click on add, you will see the below form on your screen. Enter all your relevant information and click on “Add this contact”
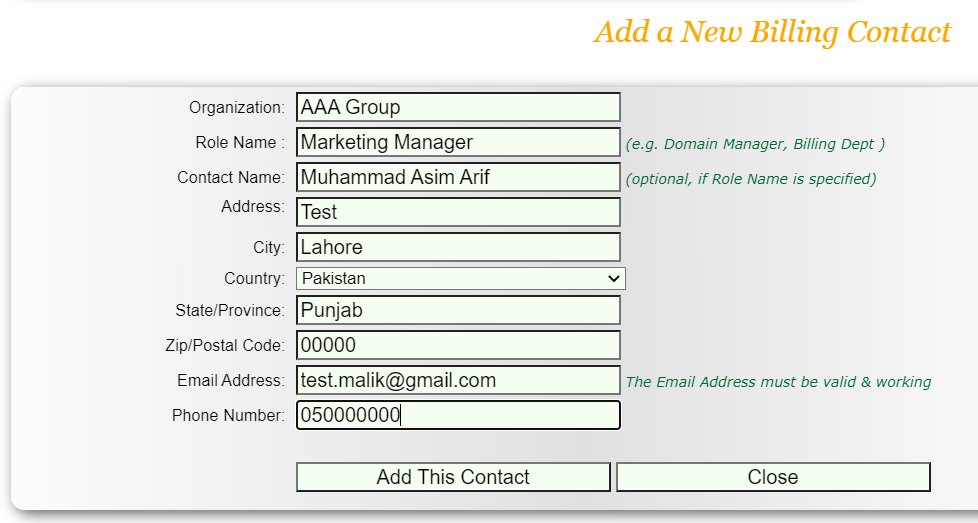
D – Now, Enter your “Billing Contact”, it is optional, but if you want to add then click on “Add”

After Click on “Add”, you will redirect to “Add a New Billing Contact” form. Enter all your relevant information and click on “Add this contact”
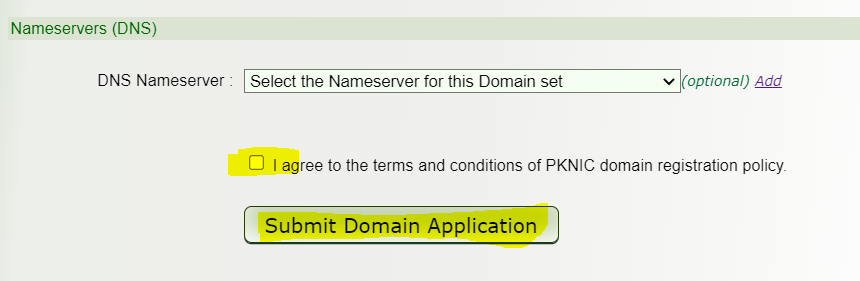
E – After Add the Billing Contact, the next step is to add “Nameservers (DNS)”, so click on “Add”.

Then, you will redirect to the “Add a New Nameservers Set” Form, here you will enter your Primary and Secondary Name servers in below highlight boxes and click on “Add this Nameservers Set”.

16. After click on “Add this Nameservers Set”, you will redirect to your main form and click on the below highlight “Check Box” then Click on “Submit Domain Application”. (Below screenshot FYI).
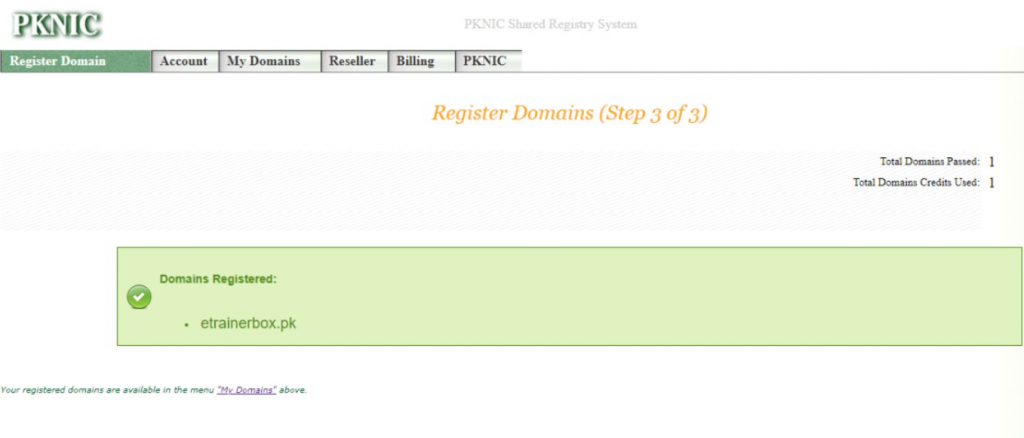
17. After Click on “Submit Domain Application”, you will redirect to next page, there you will confirm your domain name, which you want to buy and click on “Confirm Order & Continue”.

18. After click on “Confirm Order & Continue”, You will move to 3rd Step, where you will find the domain registration confirmation. (Screenshot below FYI).


