

To install SSL certificate, you need to follow the below steps:
- Login to your cPanel – (Learn how to login to cPanel)
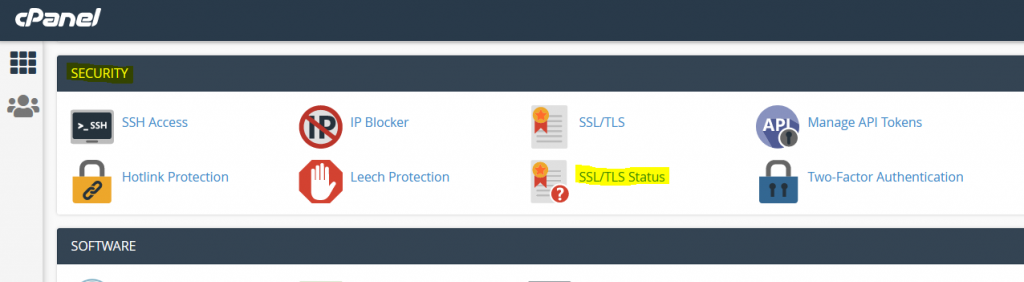
- Then, go to “Security” section and click on “SSL/TLS Status”.
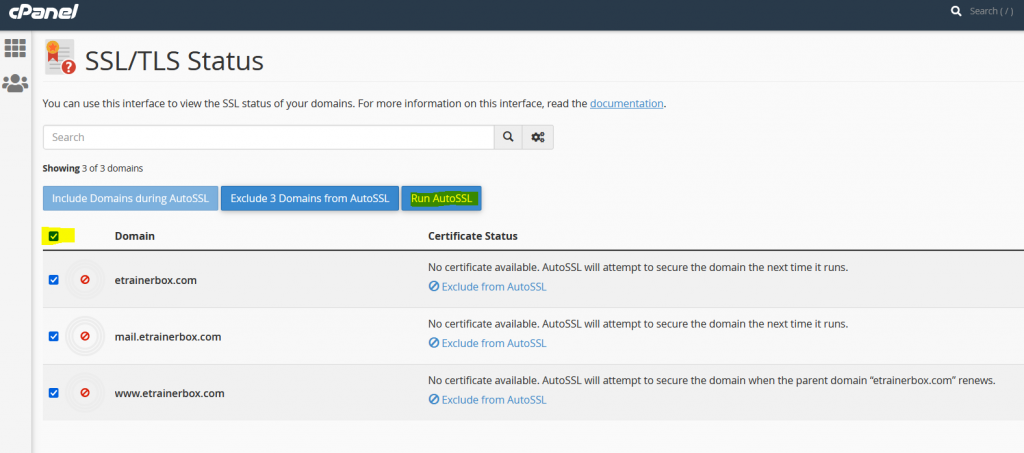
- On the next page, Select all domain/sub-domains and click on “Run AutoSSL”.
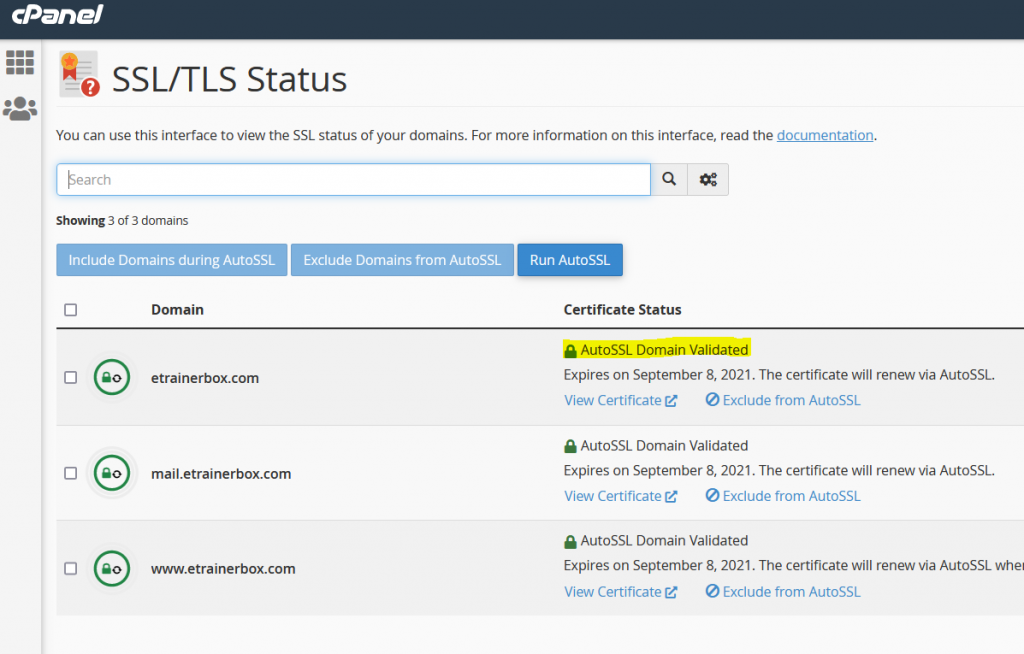
- Now, your SSL has installed, and you can see status “AutoSSL Domain Validated”.
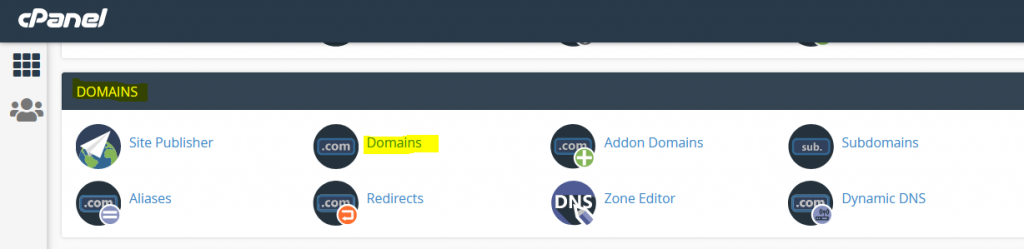
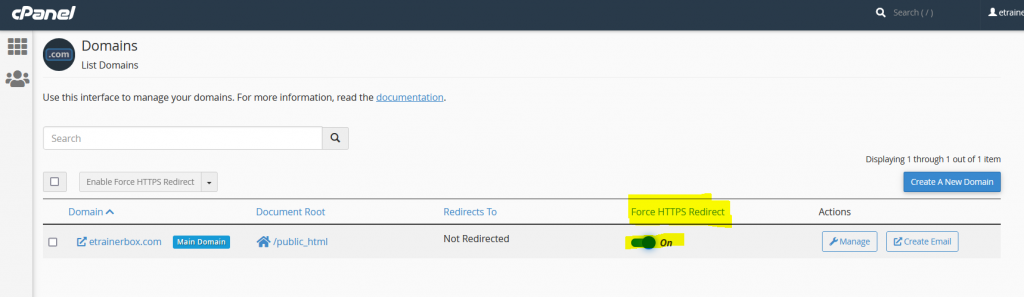
- Now, go to “Domains” Section and click on “Domains”.
- Here, you will find option “Force HTTPS Redirect”, Turn it to “On”.
That’s Sit, your SSL certificate has successfully installed and activated.


