

In this blog, we will guide you on how to create a Business email from your PLESK Control Panel. For this, you may follow the below steps:
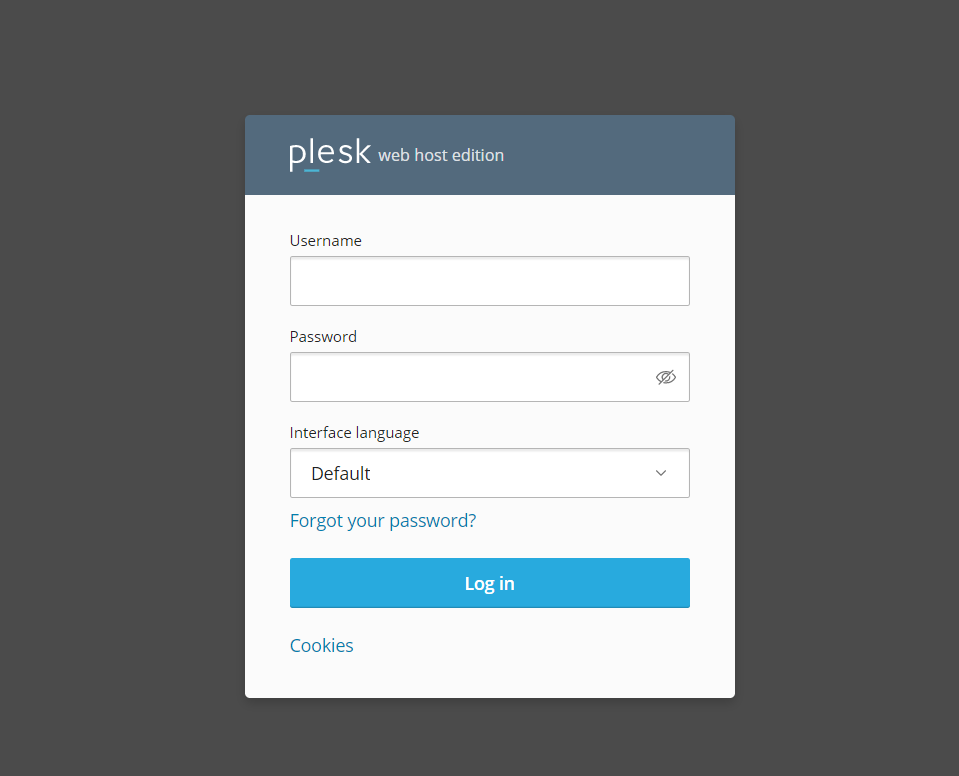
- Login to your Plesk.
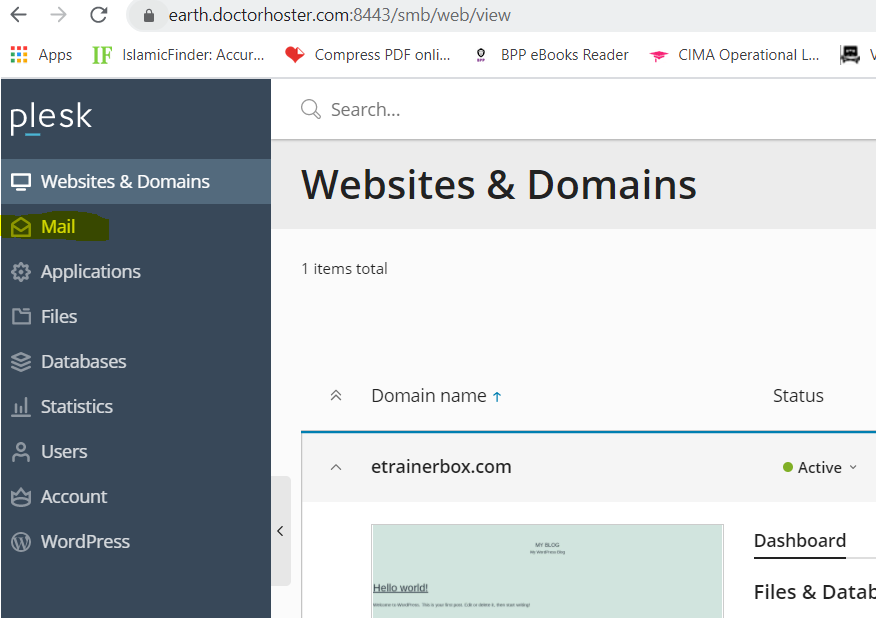
2. After Login, Please click on “Mail” Option (below screenshot FYI).
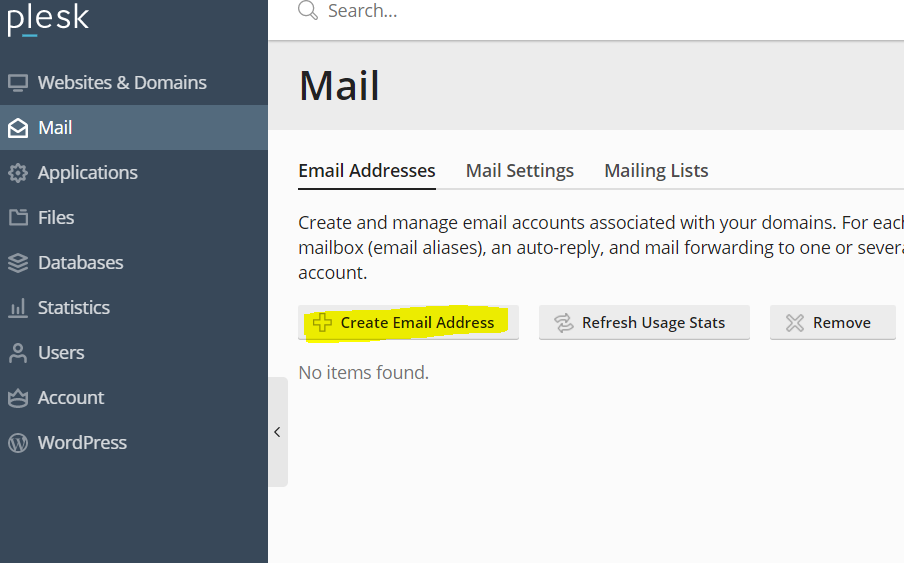
3. Then, you can find option “Create Email Address” Click on it (Below screenshot FYI)
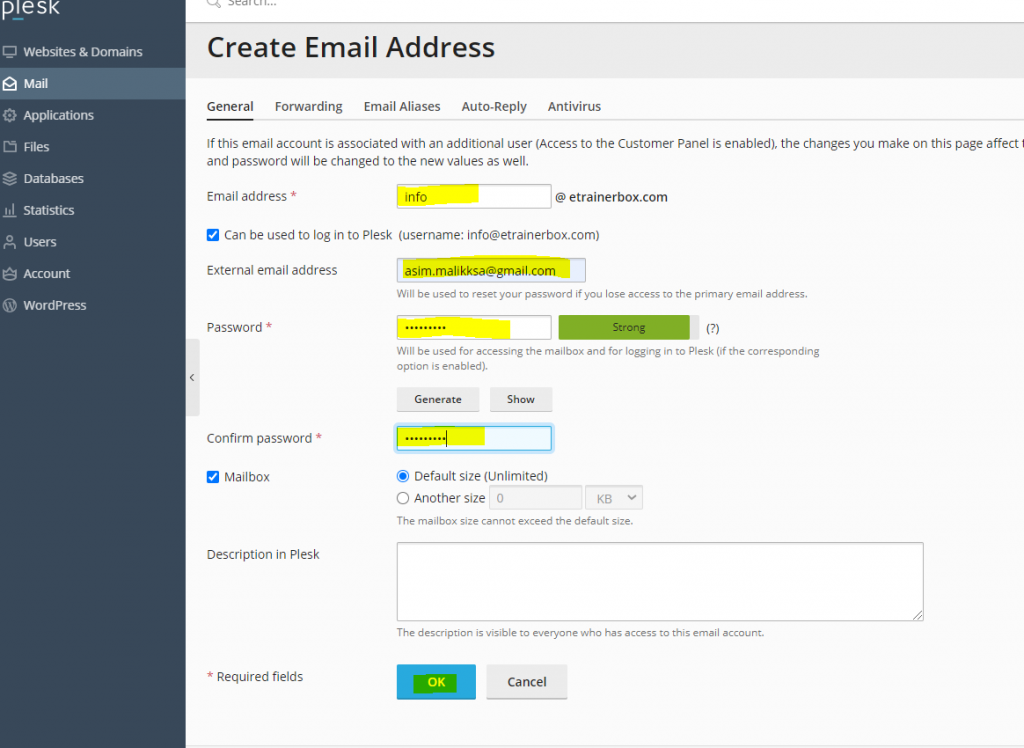
4. Follow the below steps:
- Then, in the “Email Address” section, write your email id, which you want to make it. For example, I want to make info@etrainerbox.com, So, I will write “info” in the section.
- In the next section “External email address”, write another email address for recovery. Here, I will use another personal email id.
- In the Password section, write your password or you can click on “Generate” to generate a new password.
- In the “Confirm Password” section, enter your same password, which you have enter in the previous section.
- Then, Click on “OK” (Screenshot below FYI).
5. Once you click on “OK”, you will move to next page and you can see your created email ID. (below screenshot FYI).
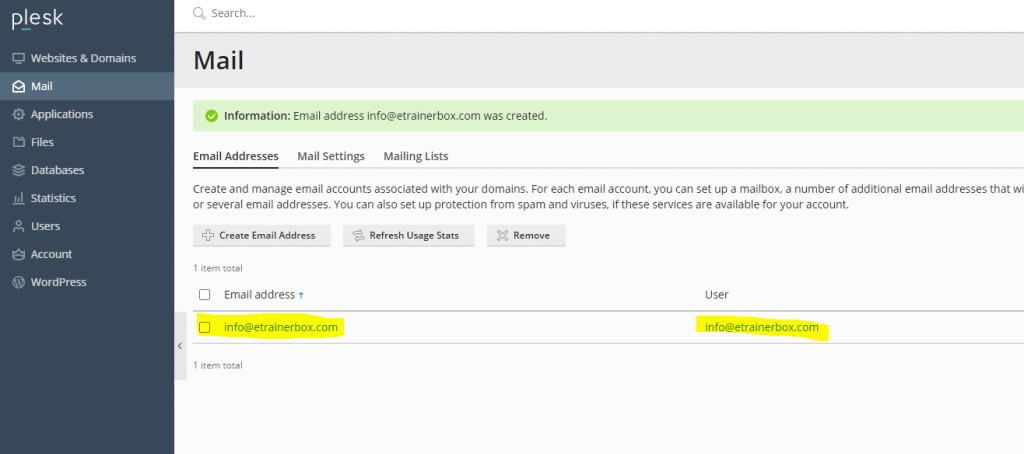
In this way, you can create business email id from Plesk.


